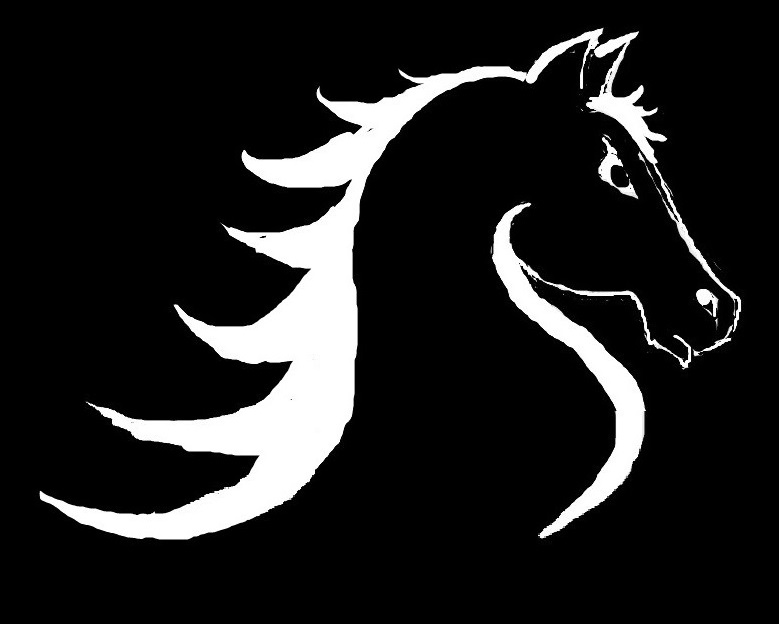
by STF
(Shadowfax Art Series)
The Set Up
Now that so many people are using AI to create artwork, there may not be any interest in creating digital art in the “old-fashioned” way, one pixel at a time.
I must admit—at times, it can be tedious. But it can also be fun and rewarding. For me, at least.
To create all the digital illustrations and book covers for Shadowfax Books, I use … Microsoft Paint.
I know, I know. Not many artists would admit something like that in these days of so many better choices. Just about any professional artist would probably avoid using Microsoft Paint altogether, but I’ve grown fond of the program, so I use it with every digital illustration for Shadowfax Books (covers and interior art).
The reason is simple: At first, it was the only program I had on my laptop. Yup. At the time, I couldn’t afford to buy anything else or invest in drawing tablets and other great tools for digital art.
So, it served a purpose. Then I got used to it. And, finally, I actually liked using it. Crazy, I know.
Paint is one of the most basic and simplest programs out there for creating digital art—and it’s probably the easiest to use.
Many, many years ago, I used Quark and Photoshop (at work and school). More advanced programs like that can definitely bring your artwork to the next level (if you can afford them—and, yes, they are a sound investment if you want a career in digital art).
But … if anyone is in a similar position I was when starting out, or if you’re interested in using Microsoft Paint to create some art, I thought I would give a step-by-step breakdown of how I use the program to create a digital illustration.
The Subject

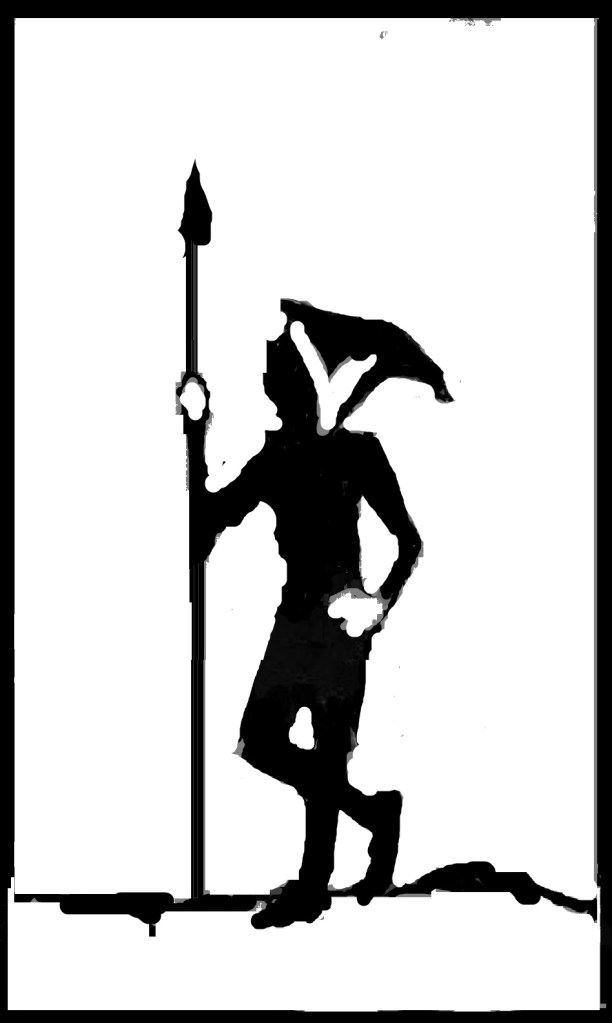
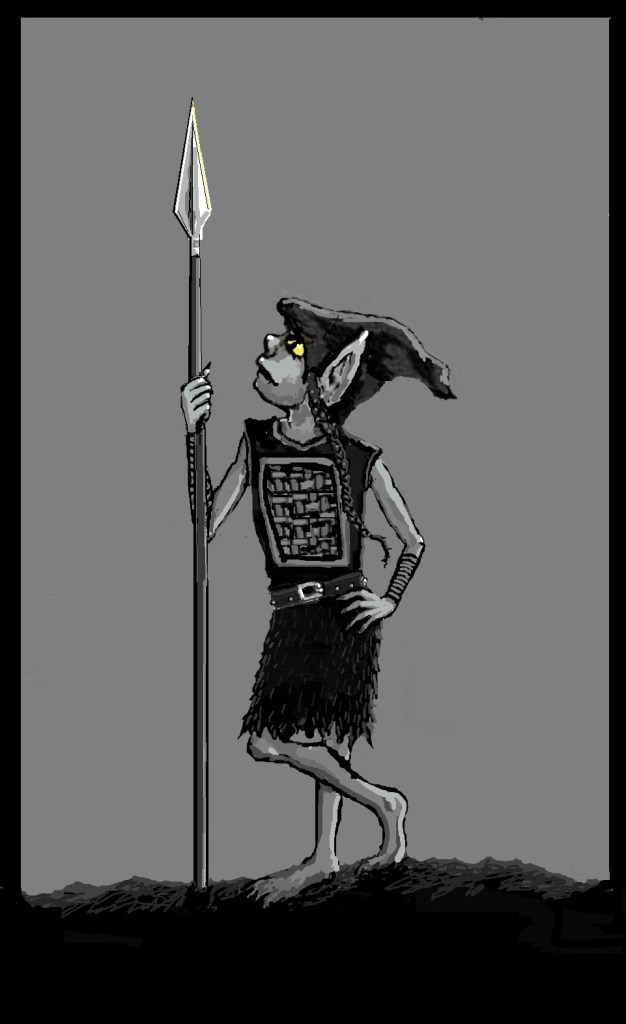
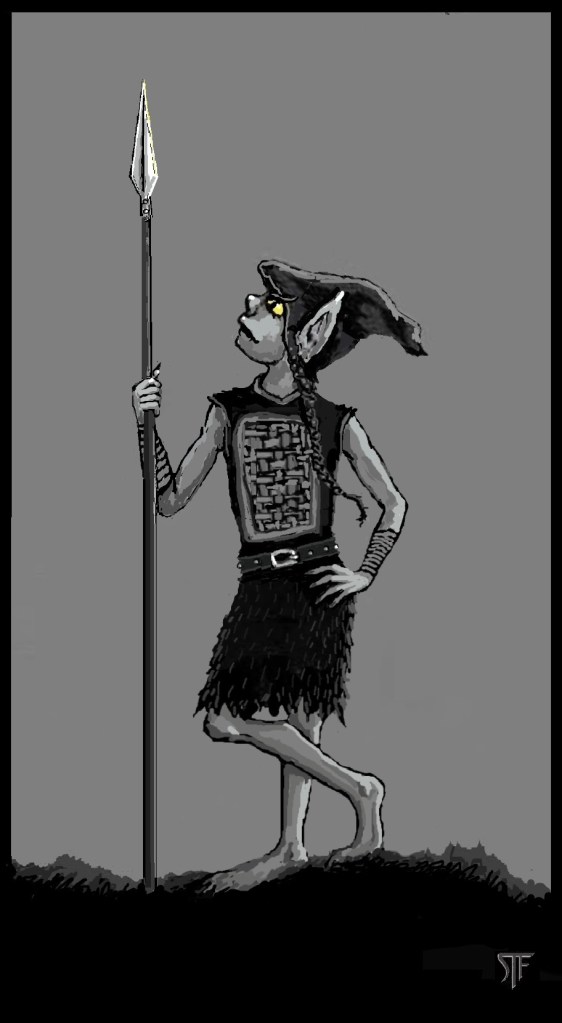
Today, I’ll be creating an illustration for the upcoming TROGS BOOK 2 (BENEATH THE YELLOW MOON by Ty Rowan, which will be available in the next few months).
I’m creating an illustration of Rhoona, a female trog (troglodyte) who is a fun character and very good with a spear. (If you want to learn more about TROGS, check out BOOK 1: ALONG THE JAGGED EDGE).
The Beginning
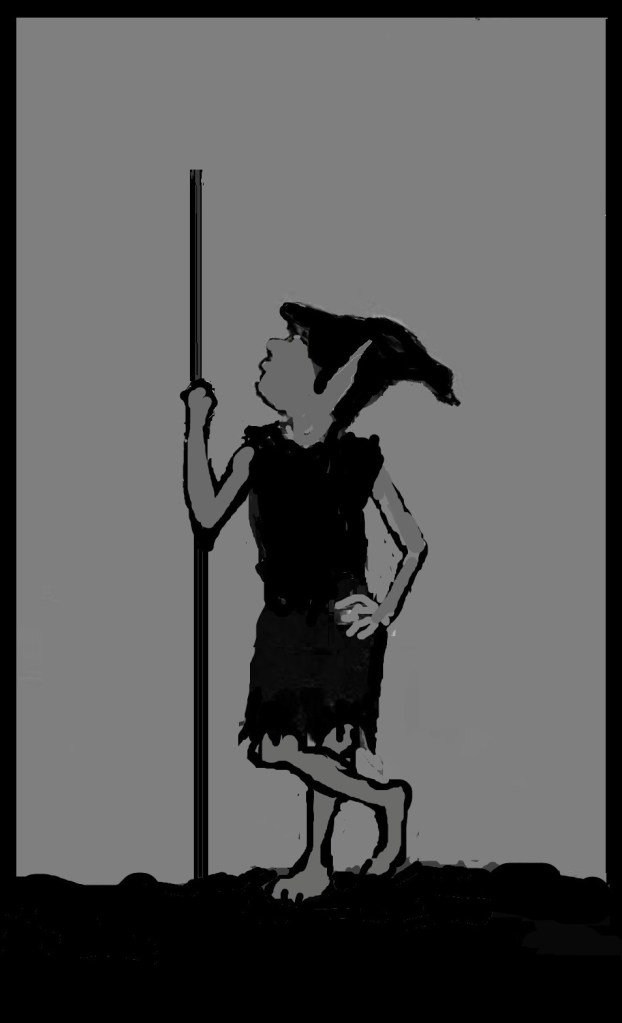
Starting an illustration is always straight-forward. I start with an idea, open a blank canvas (at 100 percent size), and I start sketching black-on-white. This step is quick, with large black strokes of the Paintbrush Tool, just to get a sense of the composition and poses, etc.
For this illustration, I wanted to present Rhoona relaxed, but ready for adventure (as she always is).
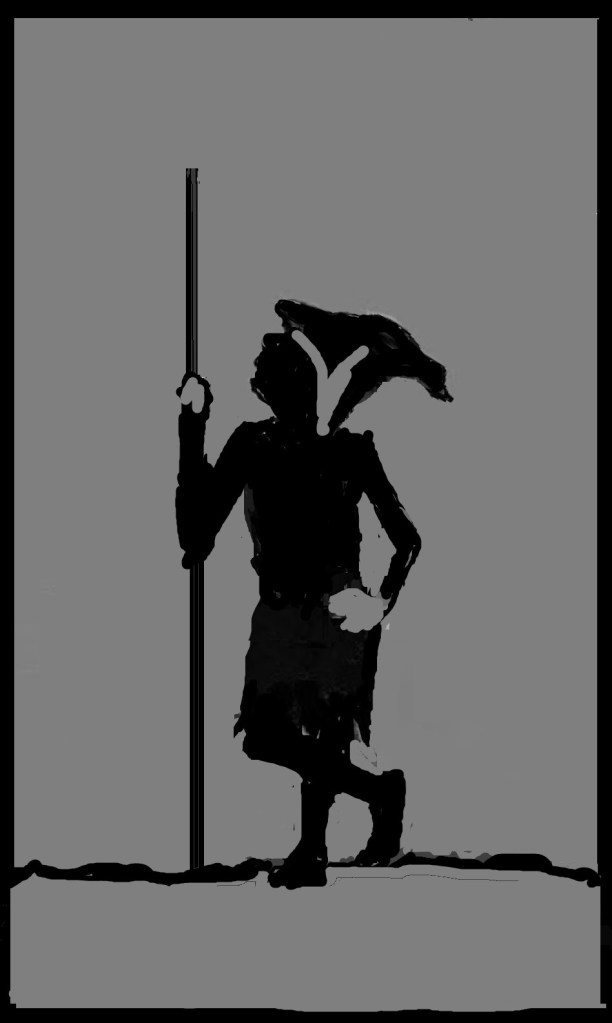
So, now that I’ve sketched out an idea, I add some gray. (I must also admit here: I’m partially colorblind, so I prefer to work in black and white with shades of gray. I do work in color as well, but not as much and it takes me longer).
After that, I start blocking out limbs and other details.
Diving In
At this point, I am ready to start getting into smaller details, so I increase the pixel size from 100 percent to anywhere from 200 to 400 percent. This gives me more control over pixel details, like eyes and various small features. So, I dig in:
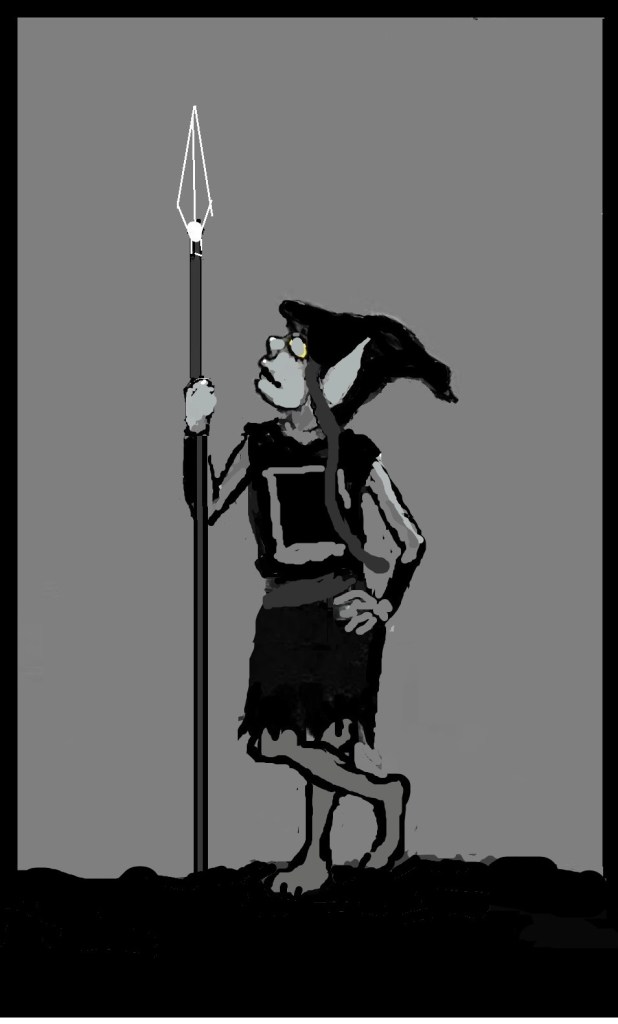
While faces and hands can be the most difficult part of any portrait to get just right, they also offer the best opportunity to really express character through art.

Again, I tweak some of my lines, proportions, details, trying to get things looking the best as they can.
The Winding Down
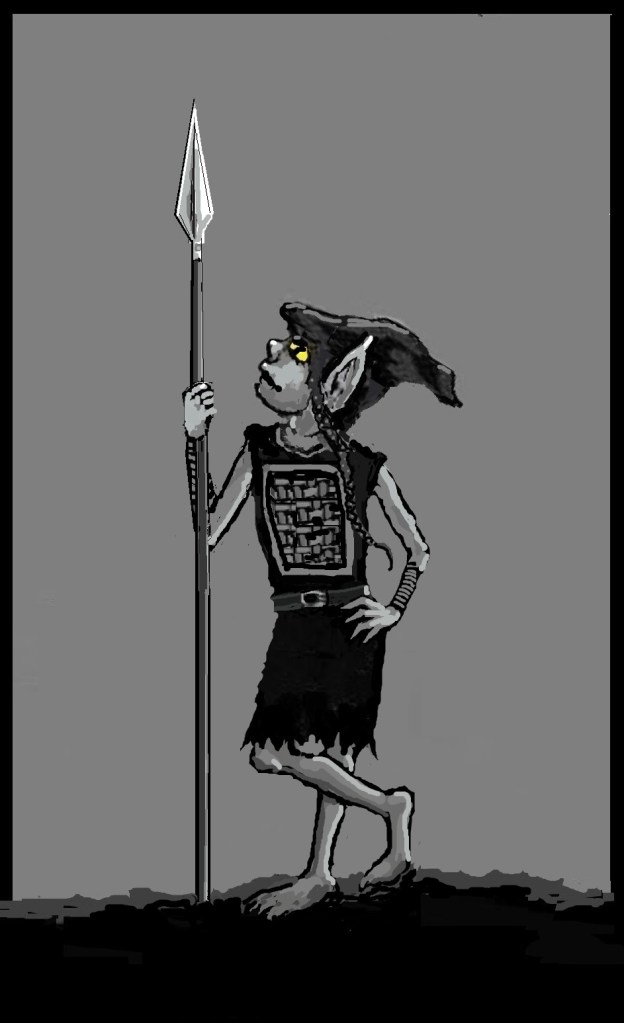
When I get to the final stage, I realize I’m not happy with some of the limb proportions, so I rework and keep developing the illustration. Sometimes, when I want to adjust the proportions of, say, the head, I will highlight the head (with a square or freeform Selection Tool), then copy and paste. While the head I just pasted is still highlighted, I adjust the size and reposition over the head I just copied. That saves a ton of time, so I don’t have to redraw the head and face.
At last, I do the final detailing. I ended up tweaking the limbs again, Rhoona’s right hand, feet, and proportions a bit more. But then, at last, I finally get everything where I want it and it conveys that “Rhoona” vibe and attitude that’s so fun in the books.
The Final Product
The entire process of creating this digital illustration of Rhoona took me a few hours. Sometimes, it’s a bit quicker. Other times, I’ll work on an illustrations for days and keep tweaking. I’ll probably keep tweaking “Rhoona” as I continue working on other illustrations.
So there it is. A fairly simple, step-by-step process with Microsoft Paint, which just about everyone has on their computer.
After working with Paint for a while now, the only two things I really wish the program offered in its tool box would be … a good Smudge/Blend tool and a better Spray Paint function.
Aside from that, it suits my purposes. Perhaps it will serve yours as well. At least until you can move on to something bigger and better.
But either way, if you are on your way to creating digital artwork of your own, good luck—and have fun!
~
STF creates all the artwork used by Shadowfax Books—including book covers, interior illustrations, and various iconography used in the books and on the website. You can see some of his work here—or explore his digital art in one of these great titles: Join the Adventure.
